The process of creating with AI
If AI is generating the image then what do you actually do as an artist?
Many people, when thinking of AI art, believe that you simply write a sentence and then the AI magically provides a beautiful image. To some extent this is true, but the full truth is that it takes a good understanding of each and every element that you want to be in the scene. You need to figure out how to specify all of those elements at the same time as not making a cumbersome prompt that will confuse the AI model. In the process of finding that balance you will almost always have to compromise and settle for less. That is, unless you’re willing to put in some work.
Here I’m going to guide you through the process I went through while creating a piece of fanart for one of my favorite books.
08444
This number is the serial number of the images I generate. You can see how many images I’ve generated up to this point from this number alone. For this project the number jumps by over 20,000. This is because I stopped working on this project for about nine months.
For this project I wanted to create a fanart of the character Syl from The Stormlight Archives book series. For those unfamiliar with the series, Syl is a positive, playful character who is similar to a fairy.
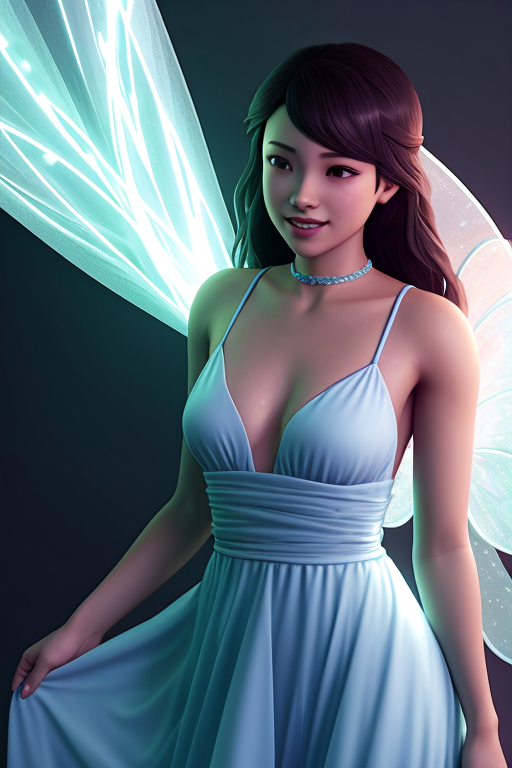
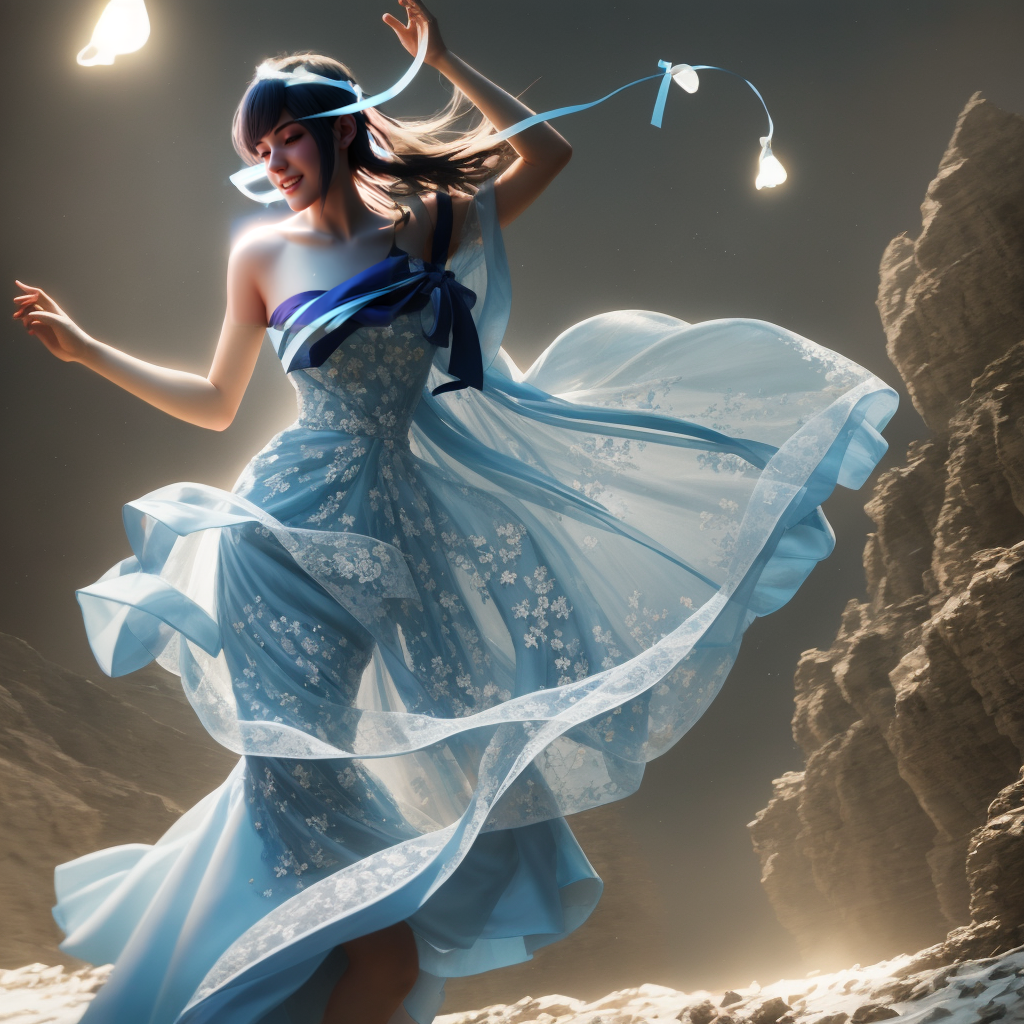
I started by generating a whole batch of images and picking the one I liked best. This is an example of one of the better images that ultimately didn’t make the cut for looking too CG and fake.
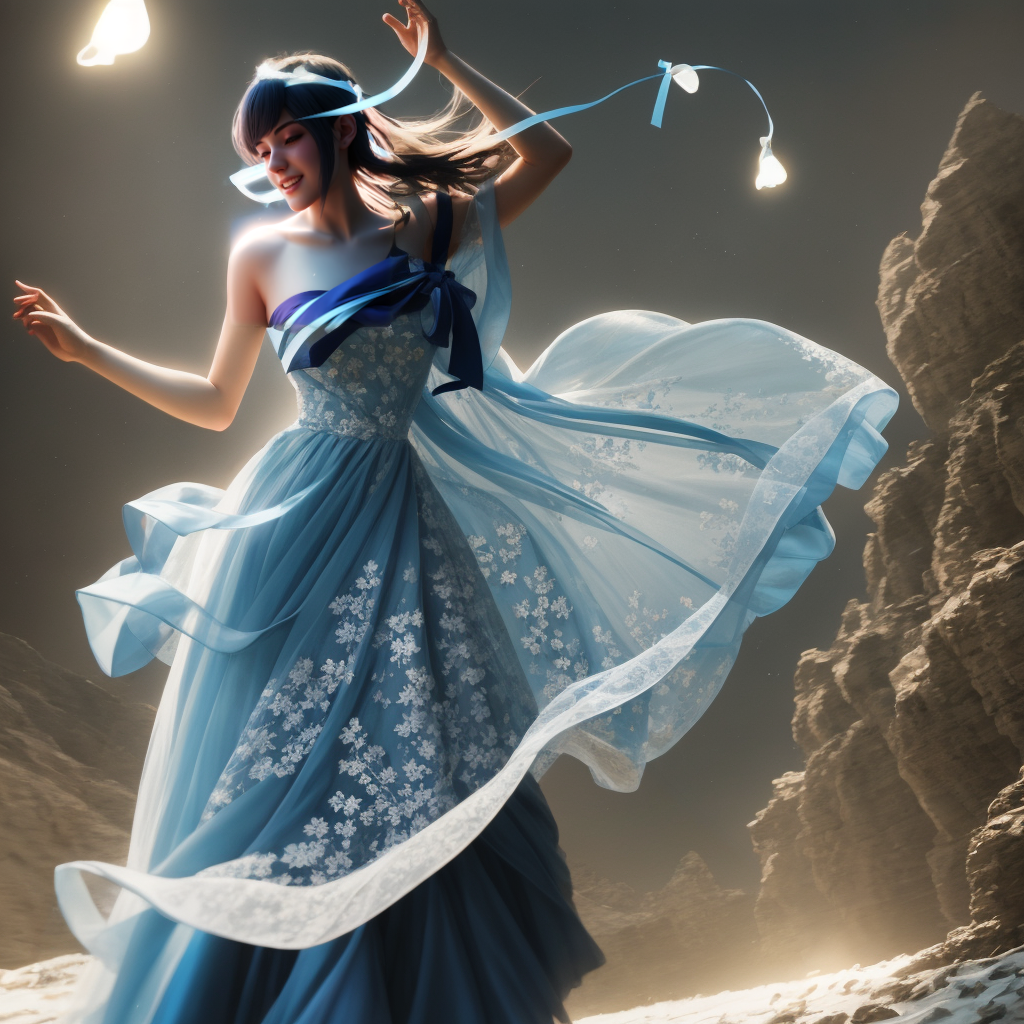
08455
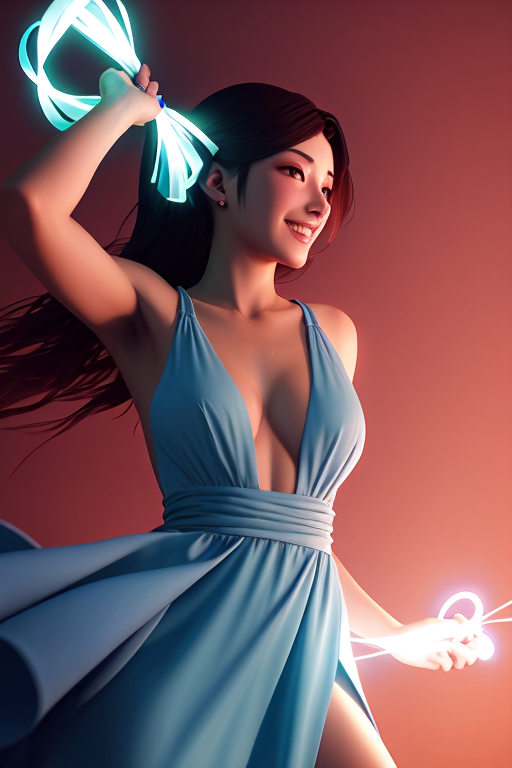
This is the second image that was set aside for potential use.
08941
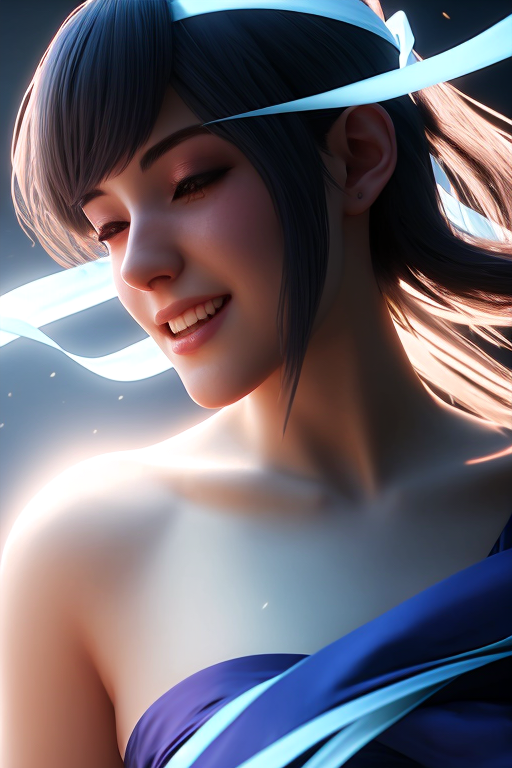
I kept generating until I got what I was looking for. After altering the prompt and changing AI models a few times I settled on this. The details were nice, I liked the lighting, and I loved her facial expression. This is what I was imagining when I wanted to do fanart of Syl so after this one came out I was done generating random images.
As you can see from the serial numbers, it took over 500 images before I got one I really liked. This is because my prompt wasn’t very good. I experimented with using ChatGPT to help me write my prompts and it was not a good experience.
GIMP
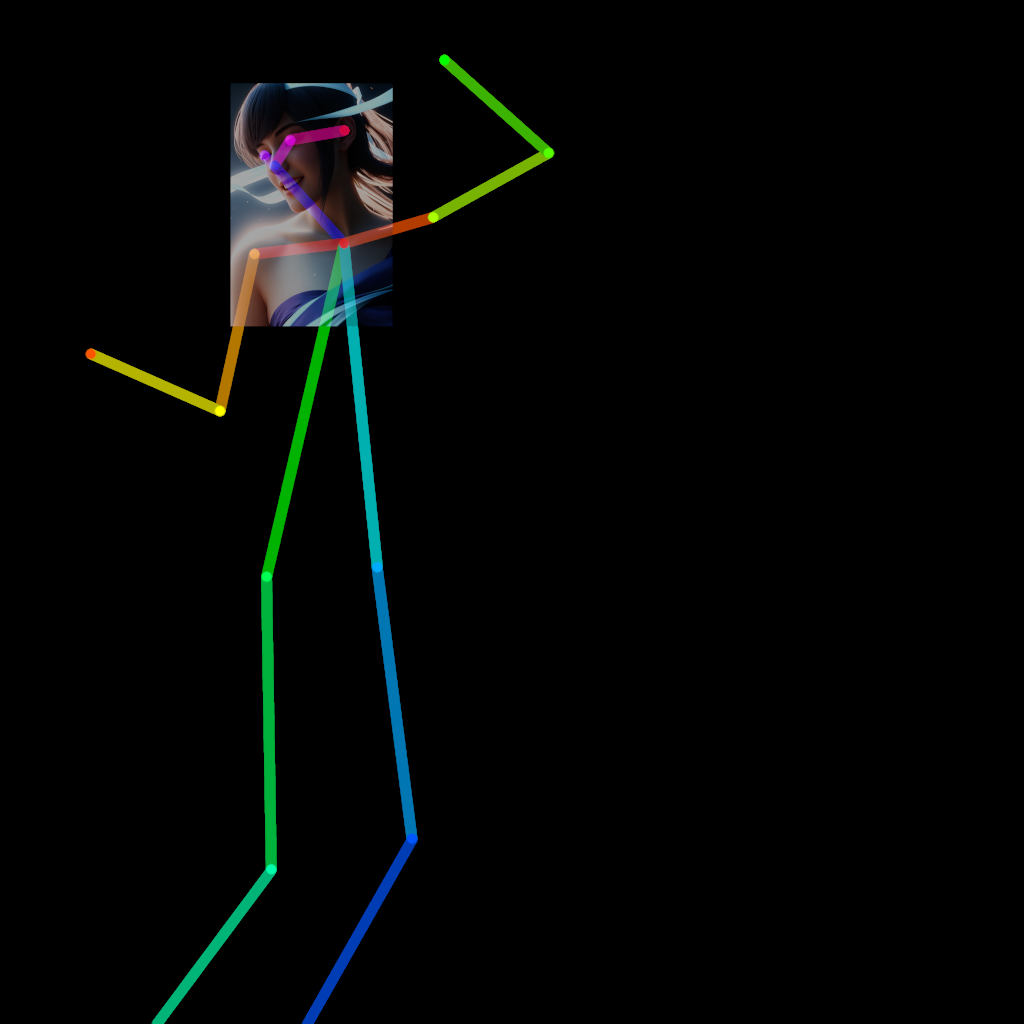
Once I had my good image to base the rest of the scene off of I needed the rest of her body so I drew an OpenPose skeleton manually because the editor extension I have was broken at the time.
This allows me to determine what pose I want when generating the rest of the image.
28871
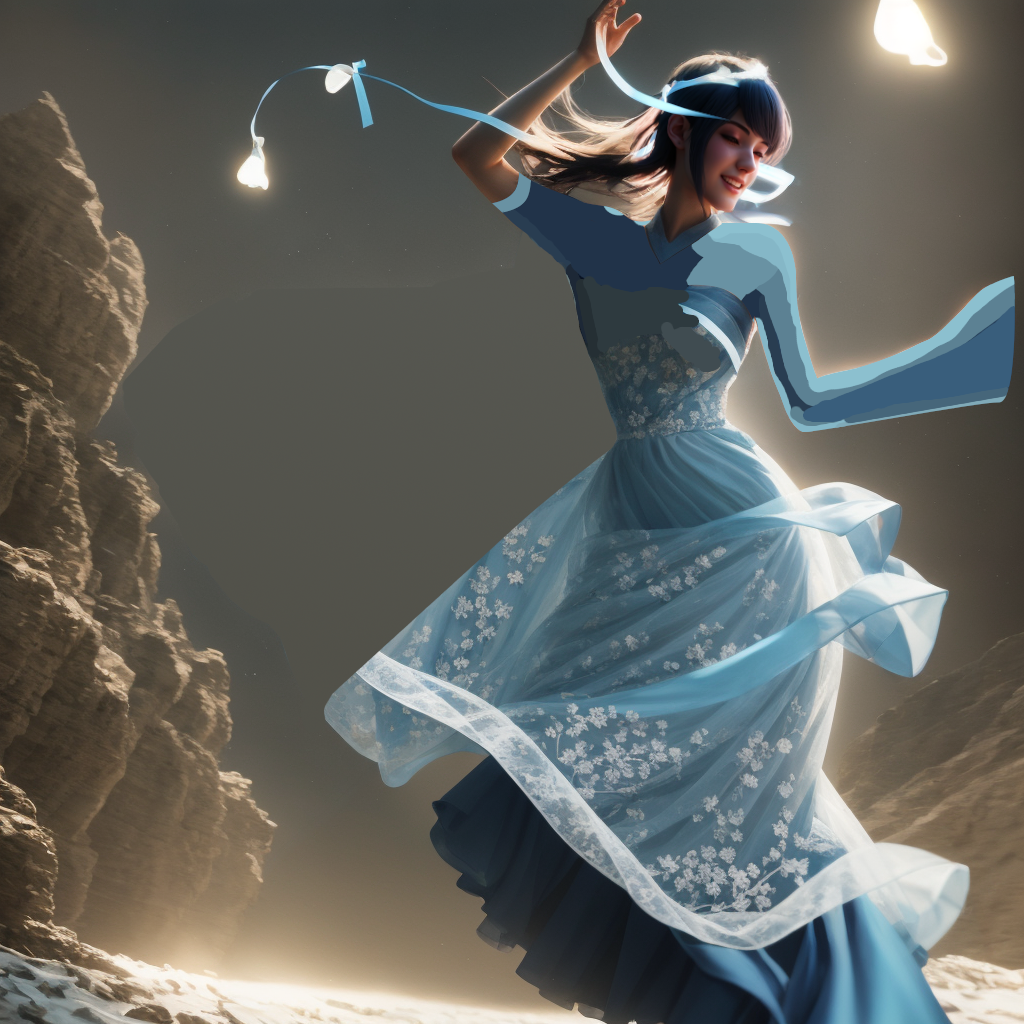
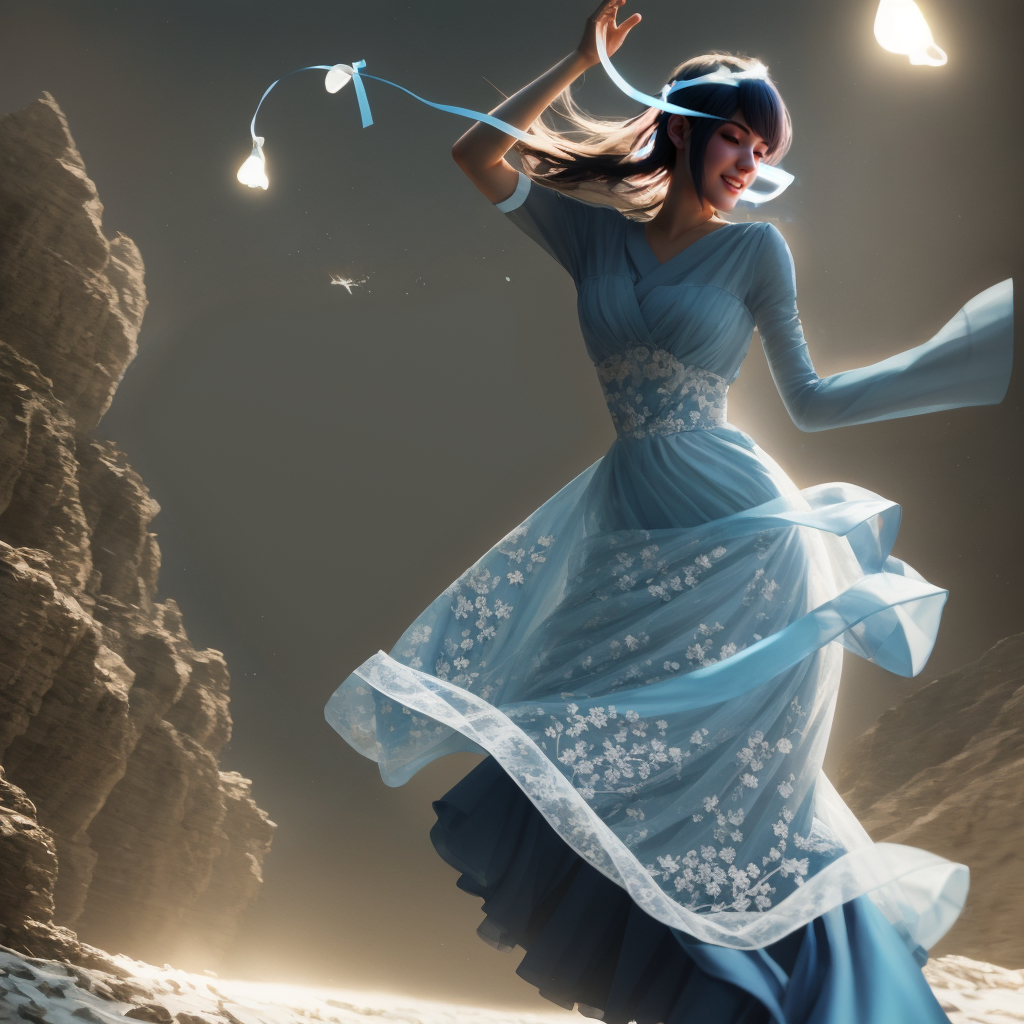
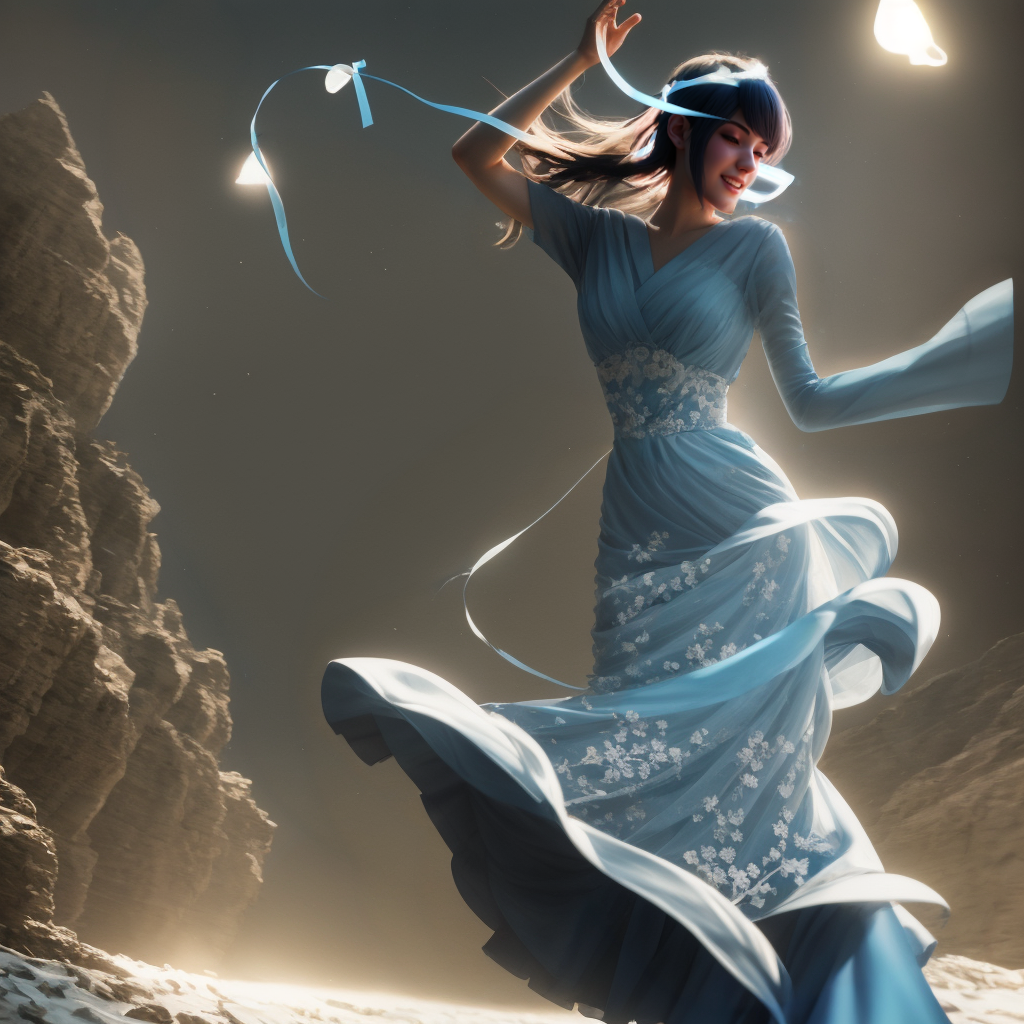
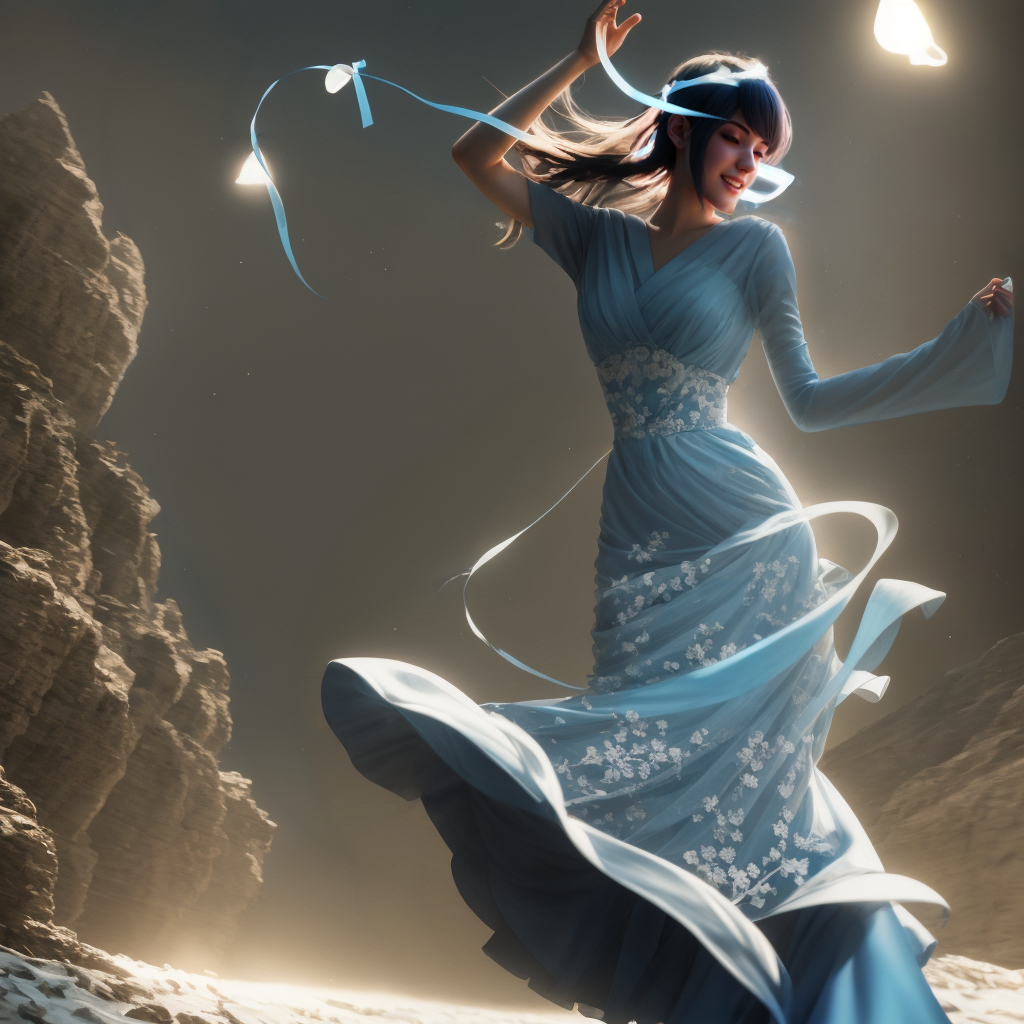
After a few generations I settled on this one as having the most potential, even though her hands and legs are super messed up. I think that being a good AI artist means knowing when you will be able to fix something faster and better by doing it yourself instead of waiting for random chance.
28877
Inpainting is a process of masking portions of the image and using Stable Diffusion to regenerate them. It’s a key tool for the way that I work with SD. I use it to clean up strange artifacts, clean up pixellation, or entirely replace parts of a picture that I don’t want.
After some inpainting I was able to get better legs which, in this case, means no legs.
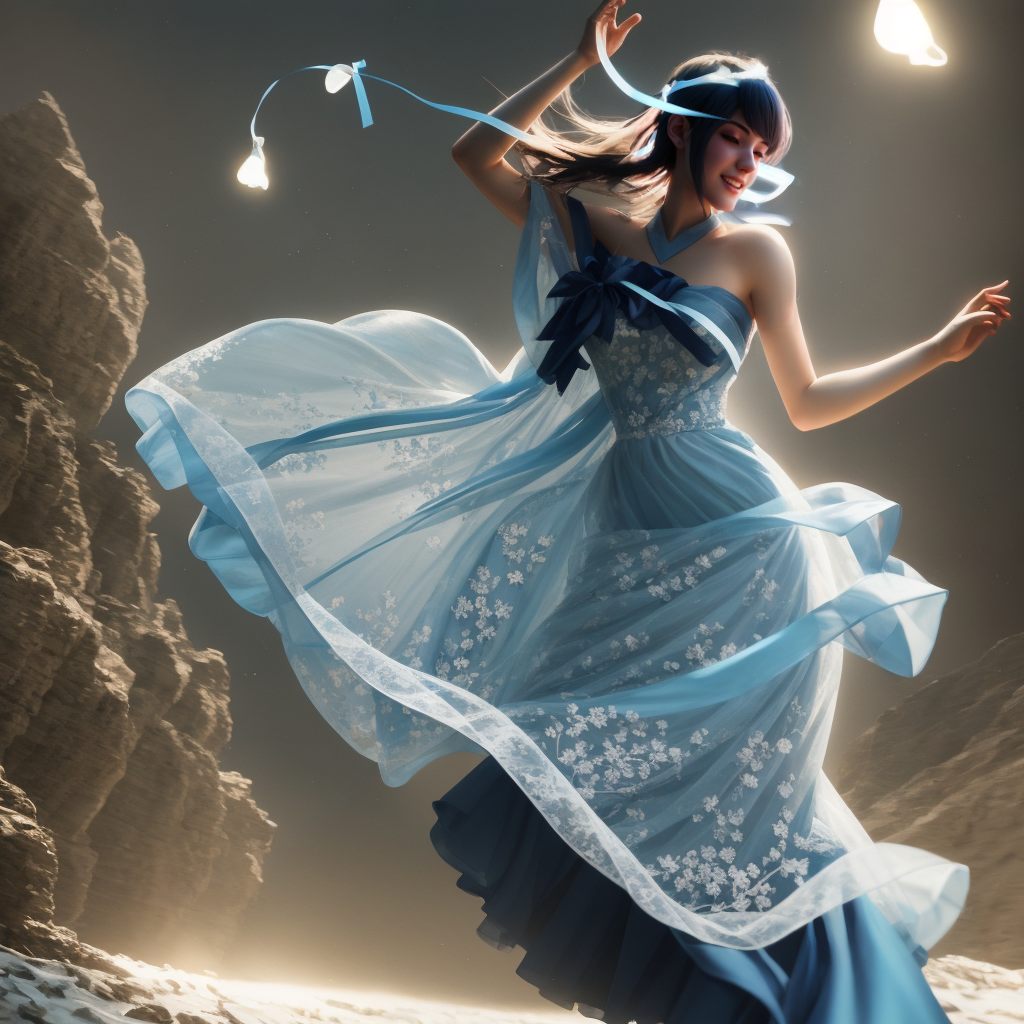
28889
For lore reasons, I decided to flip the image.
In the Stormlight Archives women from the religion of Vorinism are expected to cover up their left hand. I wanted the covered hand to be the one that’s got too many fingers. It also looked better to make the long sleeve on that arm, as you will see later when I draw it in.
GIMP
I moved the image to GIMP where I manually made some edits. Here I trimmed some of the extra material on the dress. It was fun but it didn’t fit with my vision of the scene.
GIMP
I filled in the space with a gradient and drew the details of the dress onto the image. I left it rough because there’s no point in spending time on this stage when I can take it back to Stable Diffusion to smooth things out.
28921
The original ribbons on the dress bodice were fun but I felt like they were too noisy and distracting so I got rid of them.
28937
Here we have everything mostly cleaned up by SD.
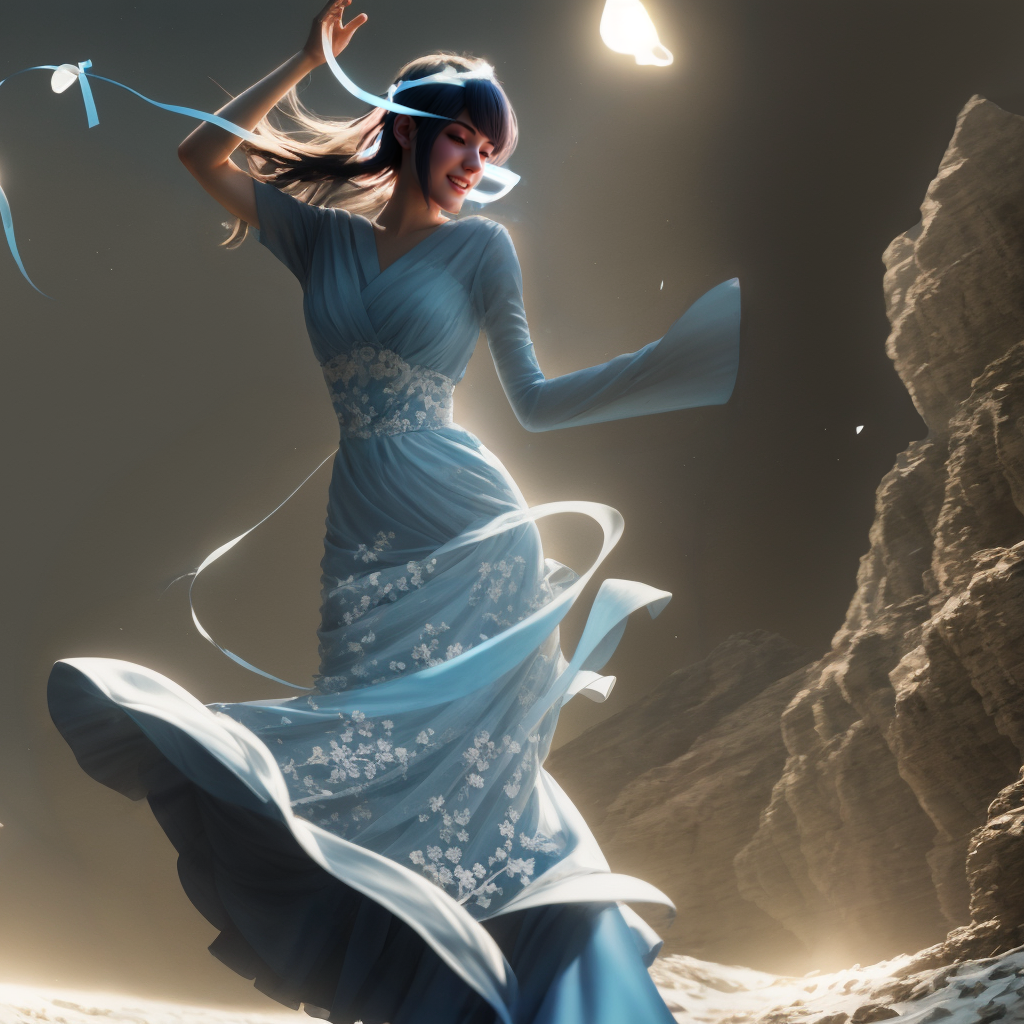
28944
It was very hard to get the sleeve to stay true to lore. As you can see here the AI wanted desperately to bring the hand back, despite being terrible at drawing it.
GIMP
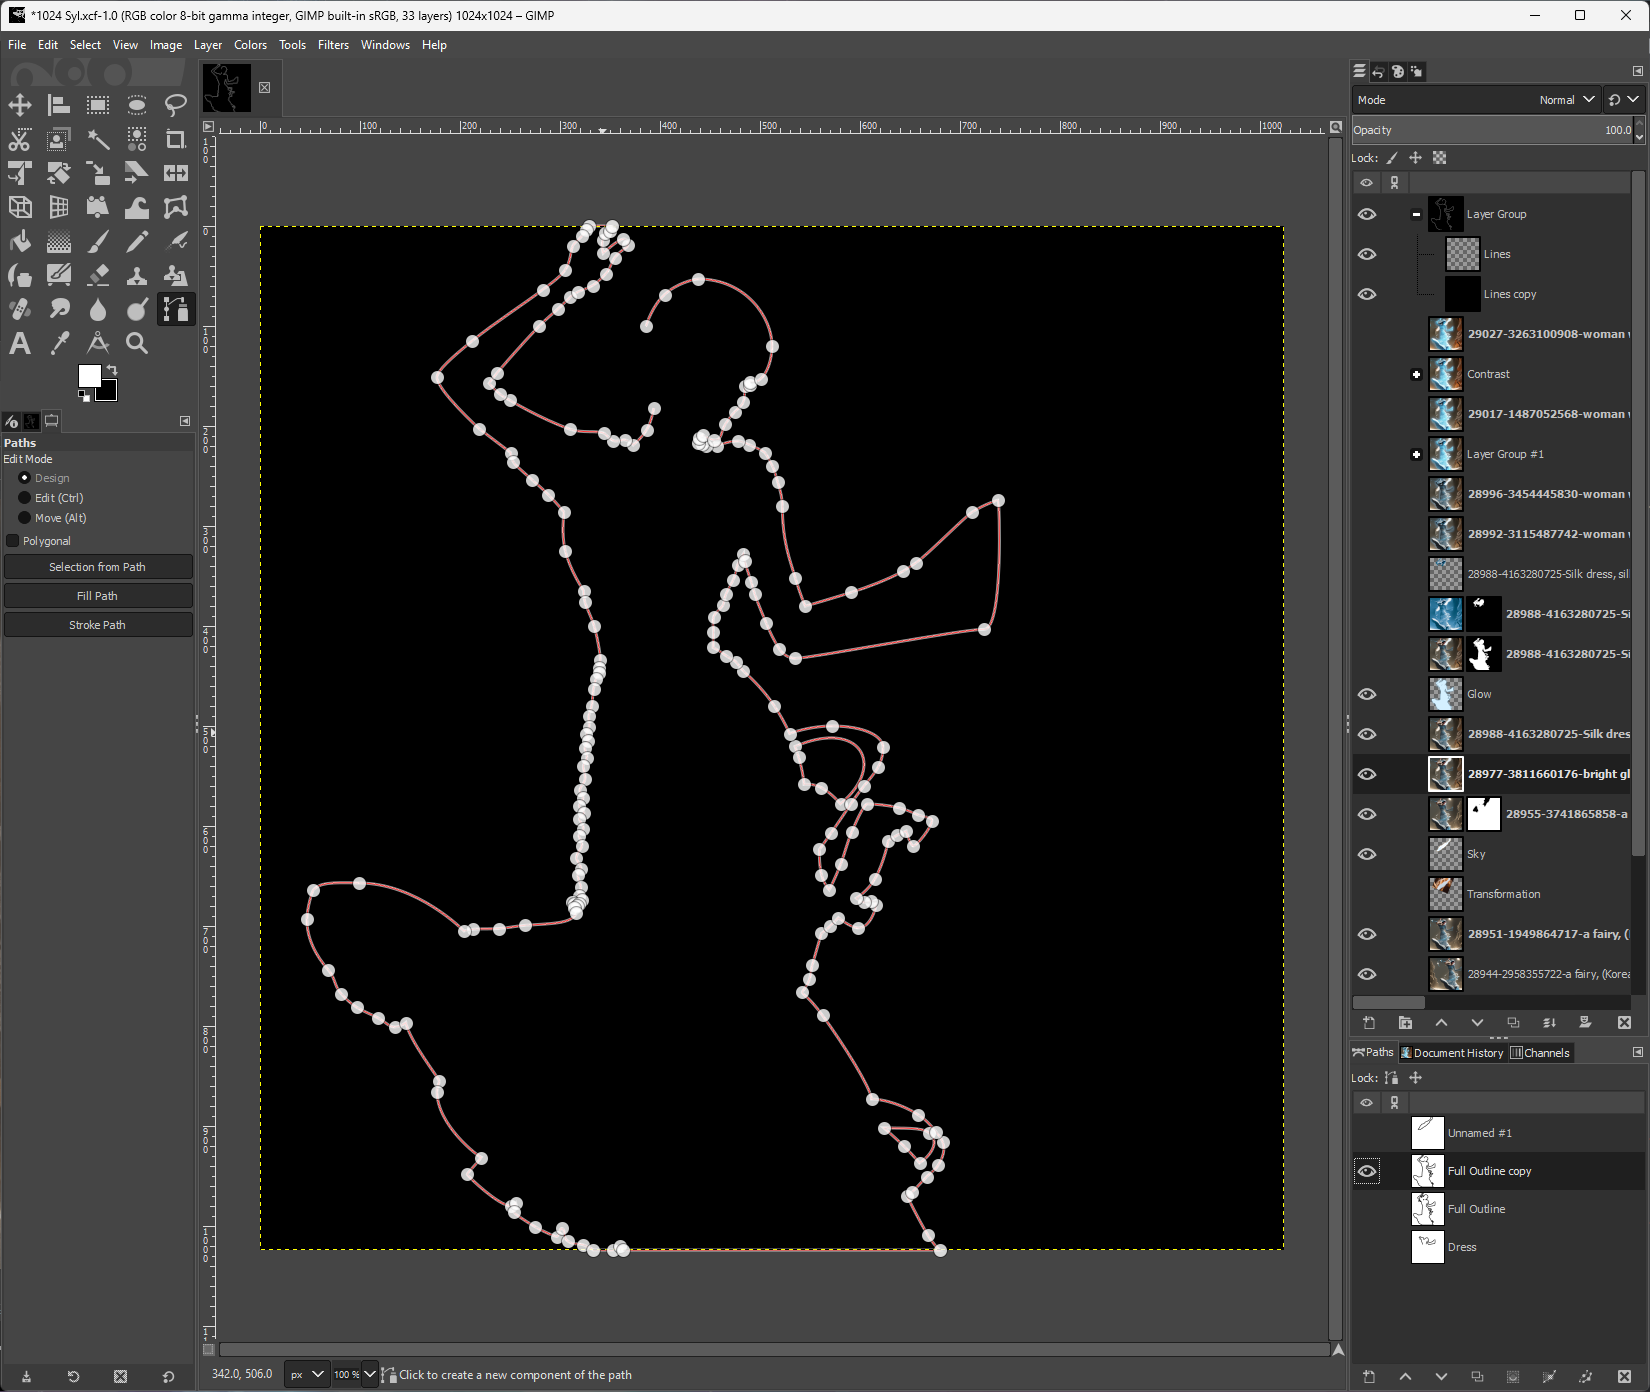
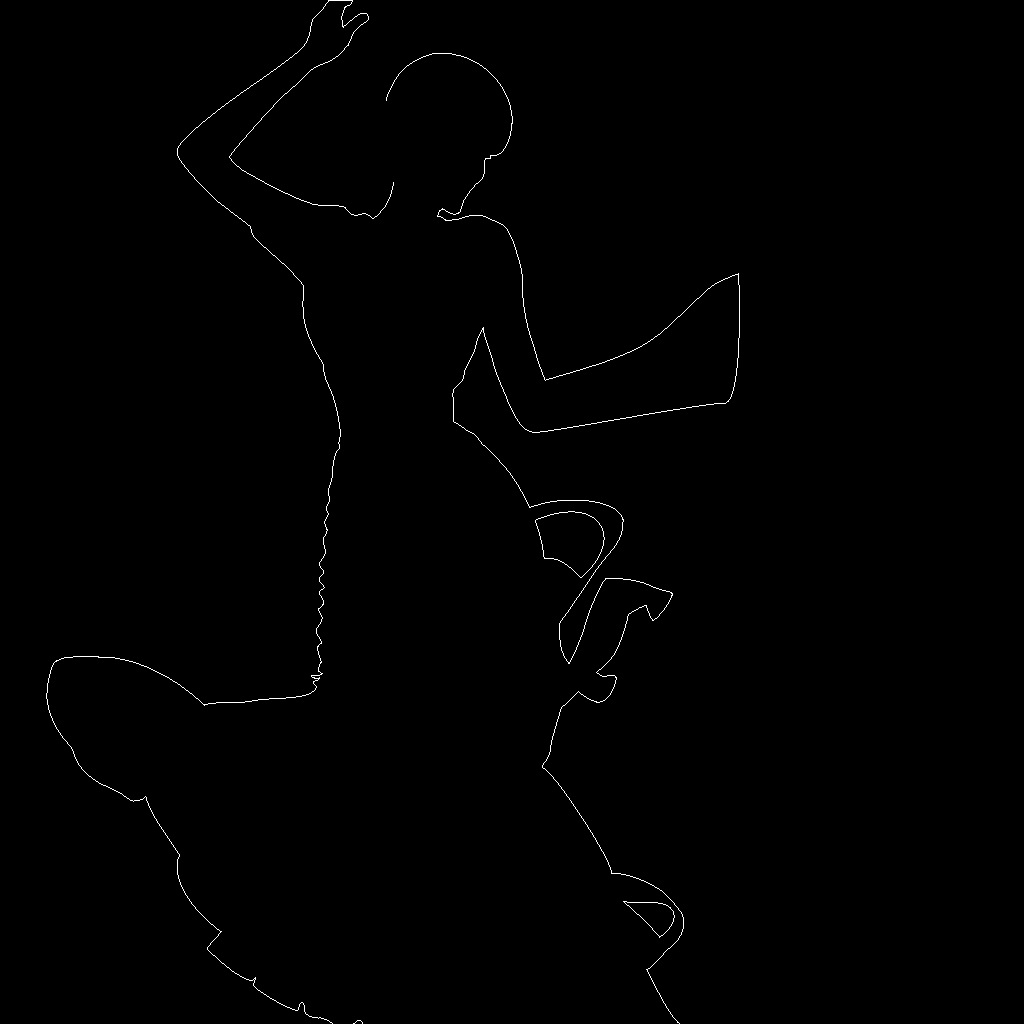
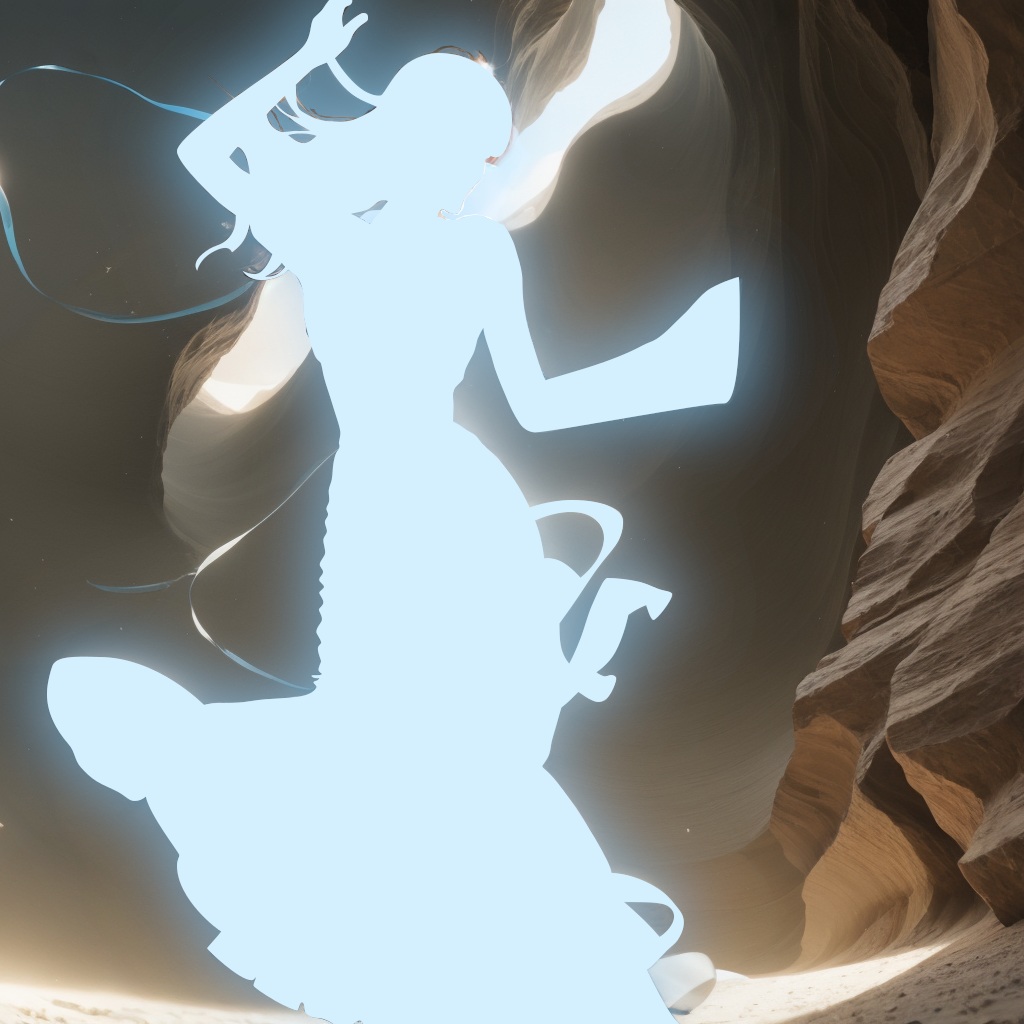
I had to outline the entire silhouette. This helps with multiple parts of the process but one of the most important is making a ControlNet mask that will stop the AI from making changes that I don’t want.
GIMP
I found that by using a simple outline like this in ControlNet I can stop the AI from changing the shape of the character or other lines that I need to stay consistent.
This also stopped SD from redrawing the hand that I didn’t want.
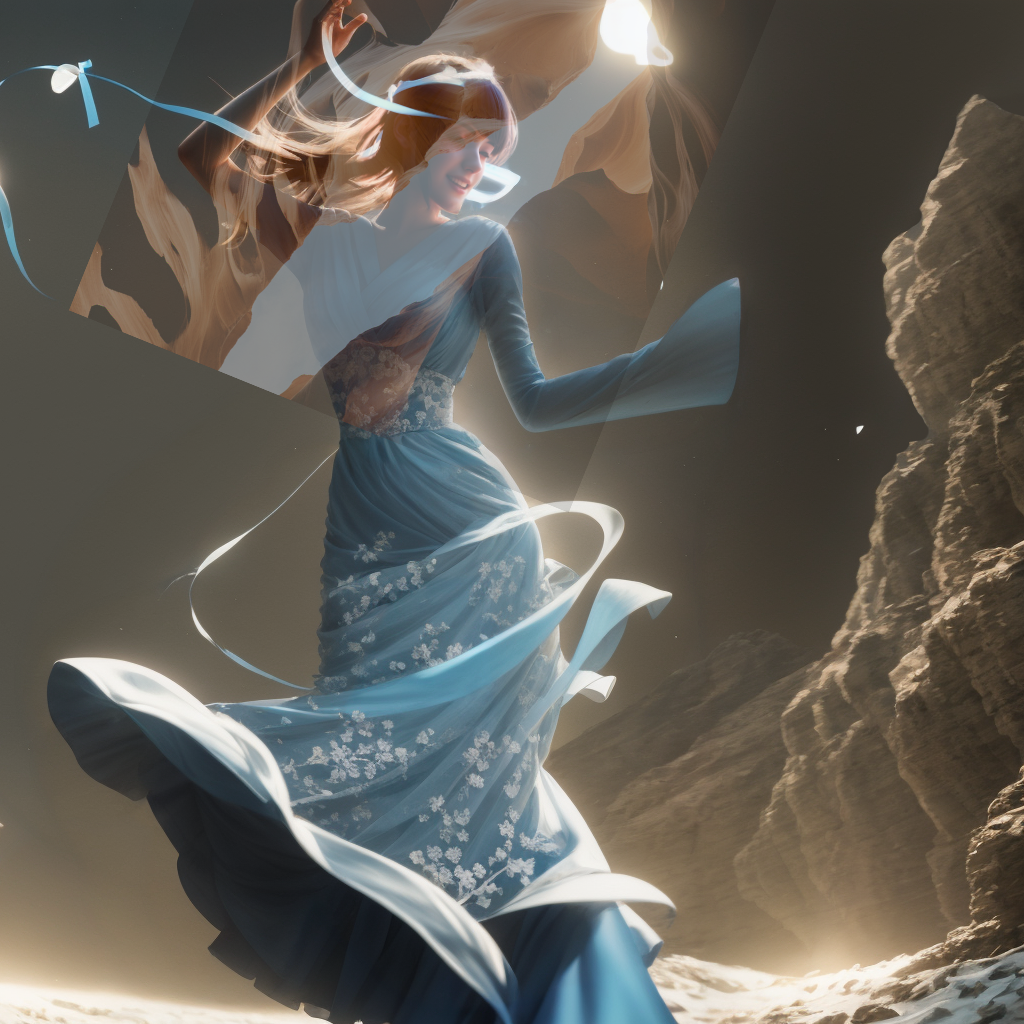
28951
I wanted to alter the scene composition to be more balanced so I repositioned Syl, cut the edge, and flipped it to the other side.
GIMP
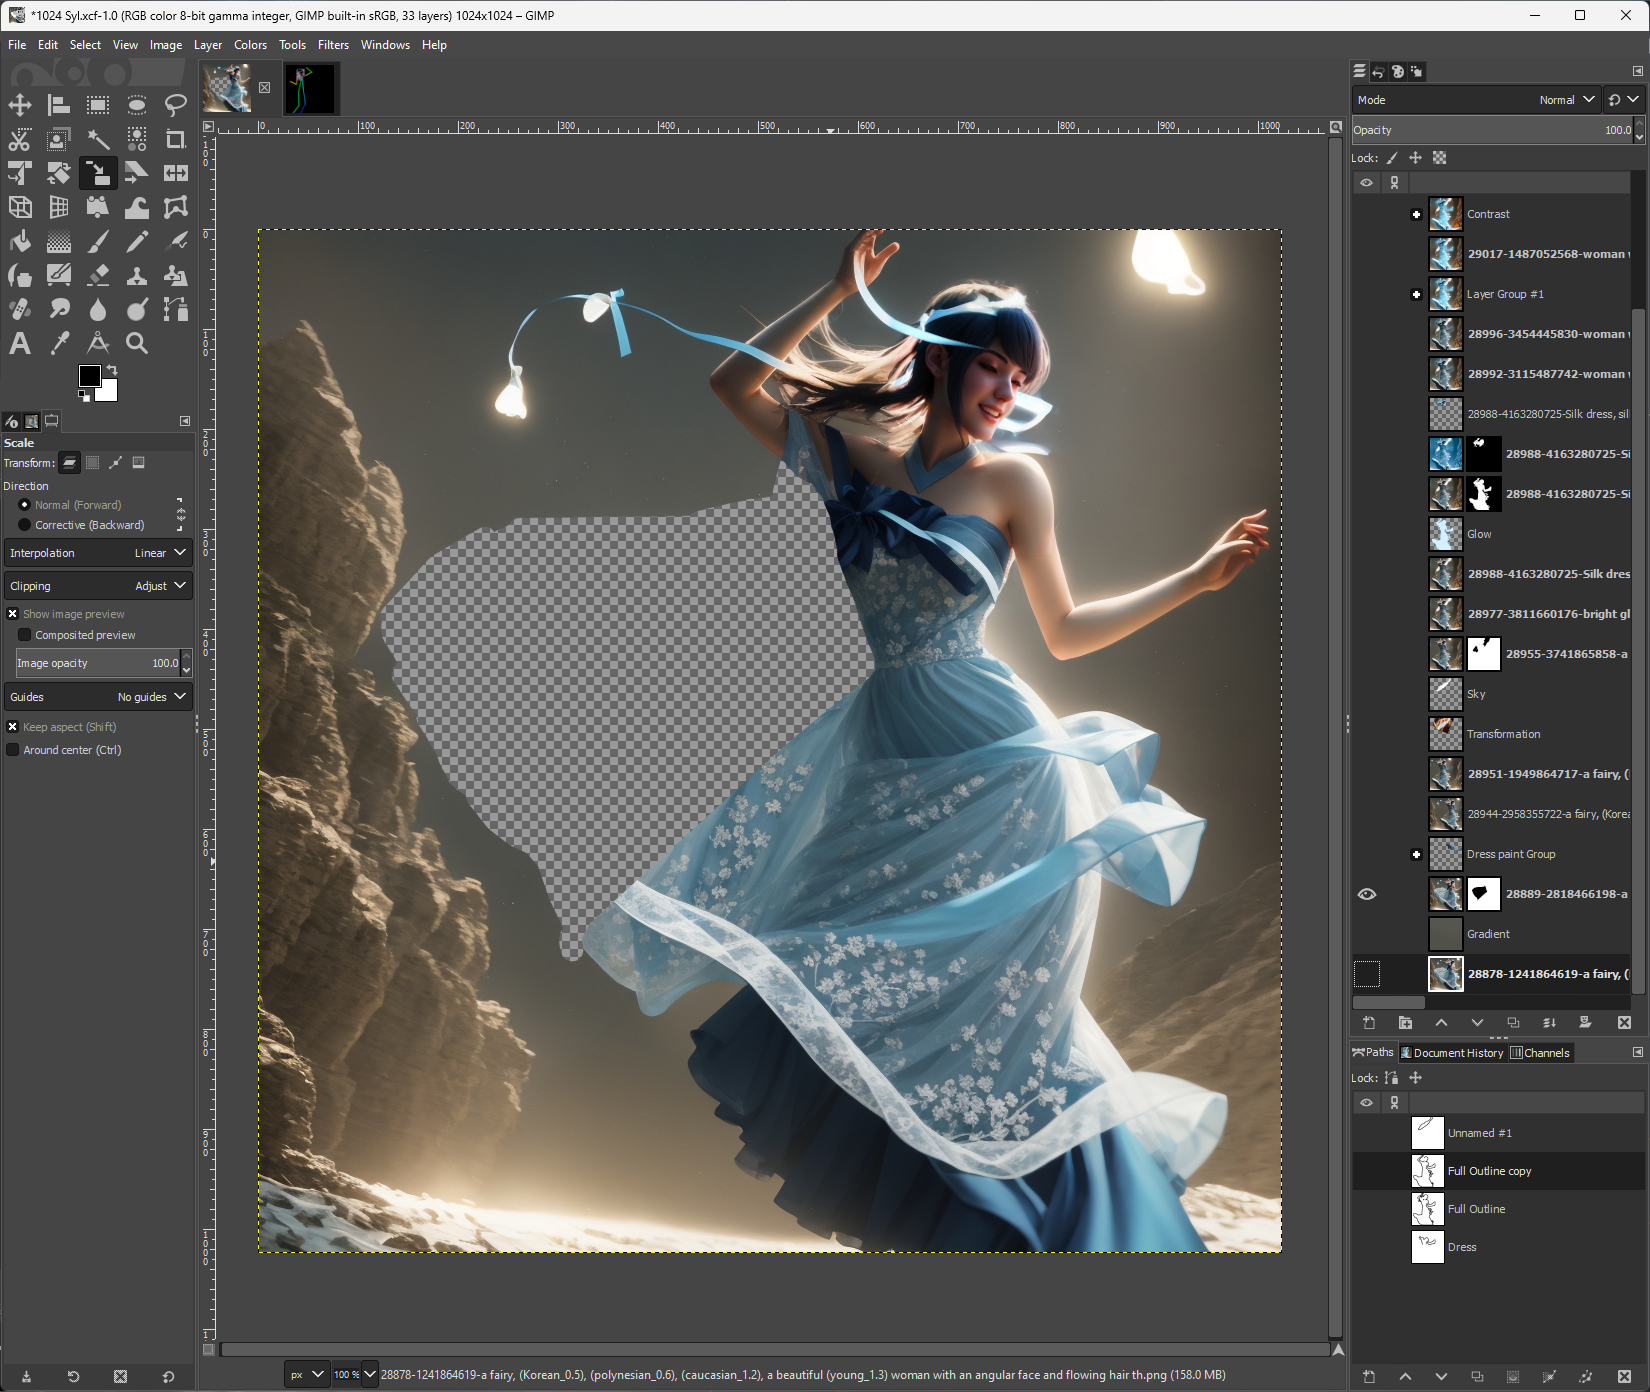
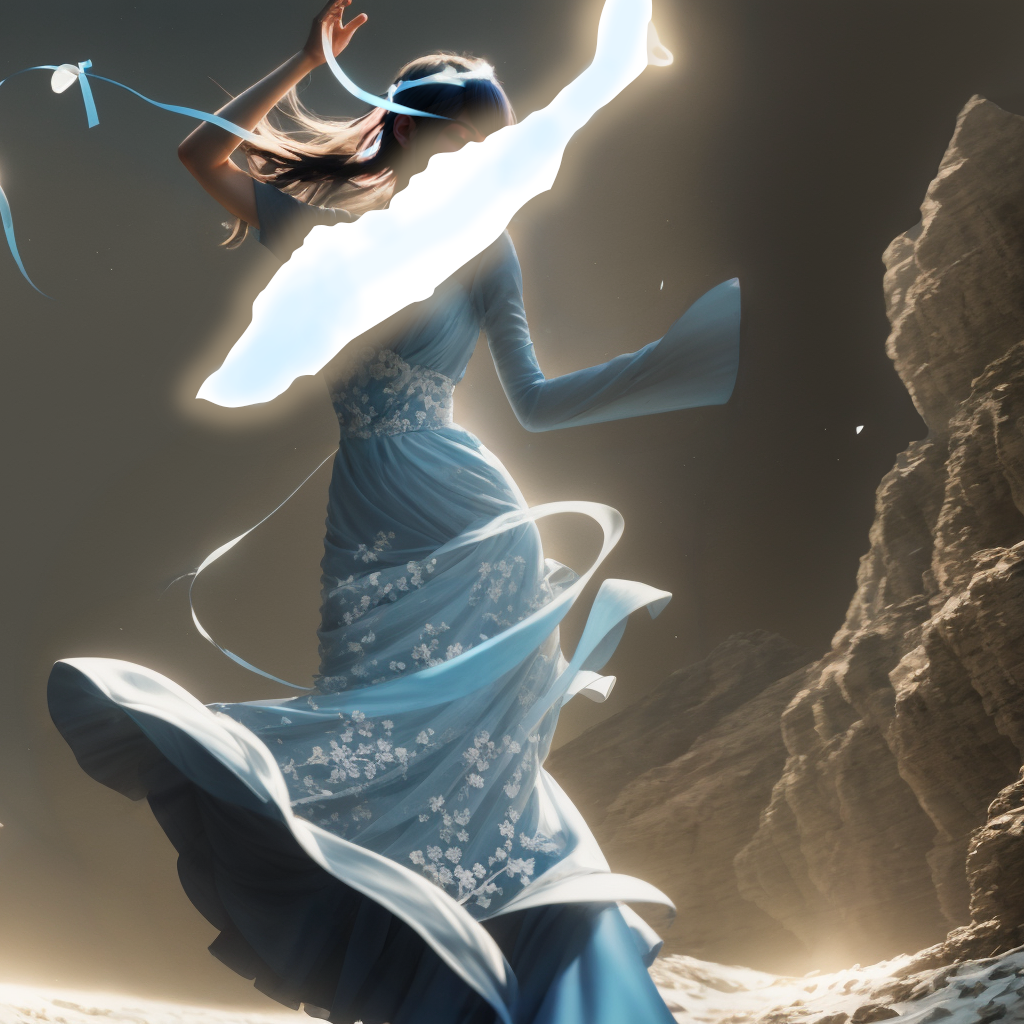
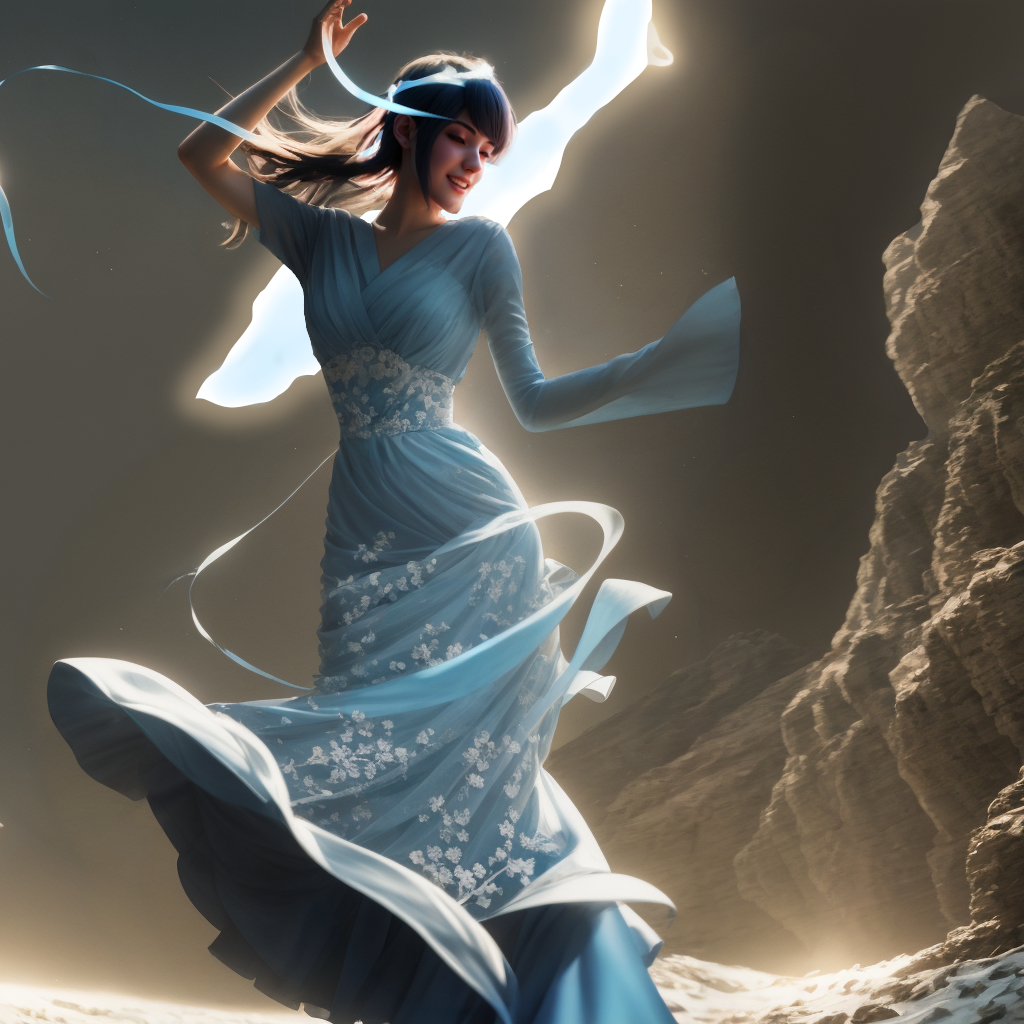
It was time to get rid of that funky lightbulb but I realized that it was a good opportunity to add some sky to the scene. This is supposed to be in the chasms of the Shattered Plains. I overlayed a slot canyon image that I generated so that I could trace it in.
GIMP
After drawing the outline I painted in some sky and added glow to match the original lightbulb-thing’s colors.
GIMP
I cut out Syl and put her back in front
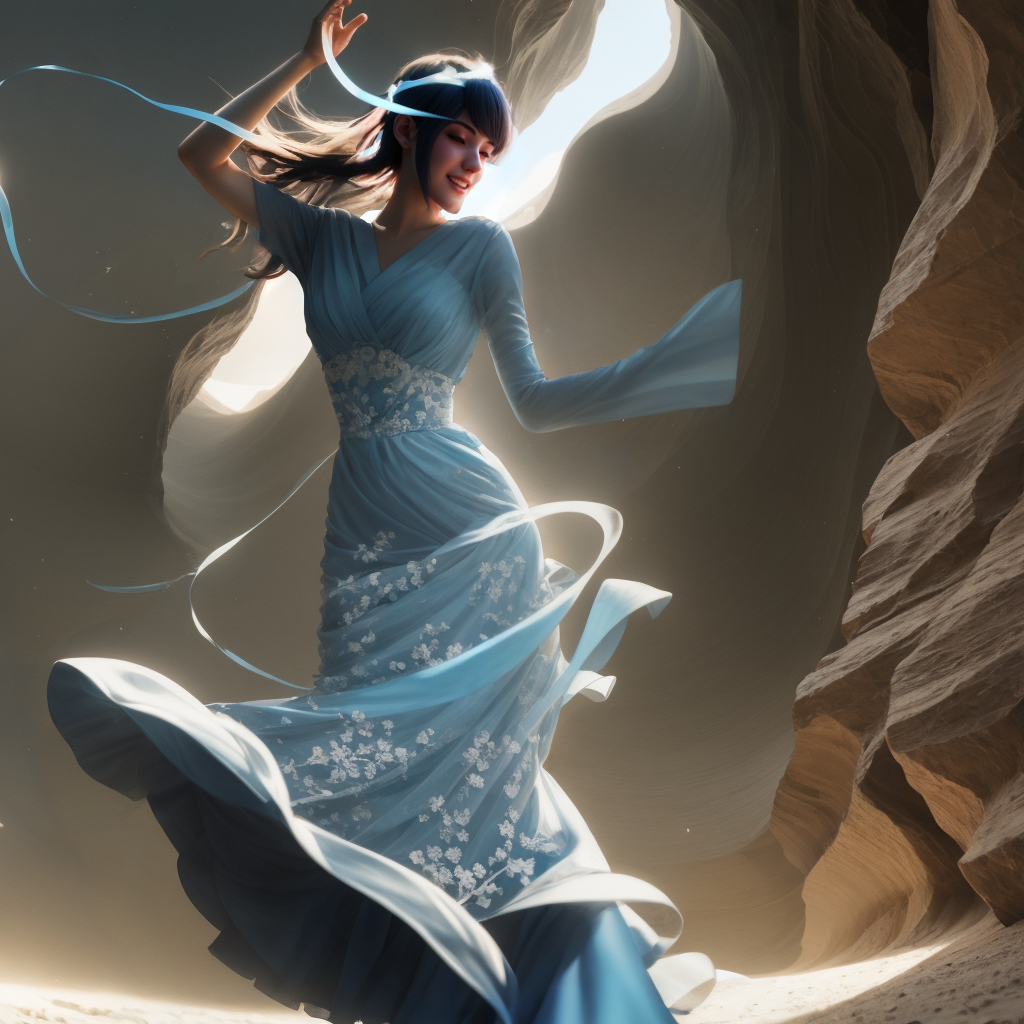
28988
And then SD magic to make my outline look like a real slot canyon. I also redid the rocks on the side to make them look water-carved.
GIMP
I added a background layer to create the glow around her. She’s supposed to give off light.
GIMP
Stable Diffusion has a hard time with odd skin tones, so even though I tried to prompt for blue skin it never turned out good. I learned months ago that doing color work is a million times easier in GIMP. Even if you can prompt for the right skin tone it’s still easier to edit if your character has a normal human tone. You don’t want to do this step until you’re satisfied with the details.
Here I recolored to blue for her skin tone. It’s a little funky but we’re not done yet.
GIMP
Masked out the parts I didn’t need
28996
I ran Stable Diffusion again to smooth the edges of my layers so that you wouldn’t see the rough pixelly edge of where I cut out Syl from the background.
GIMP
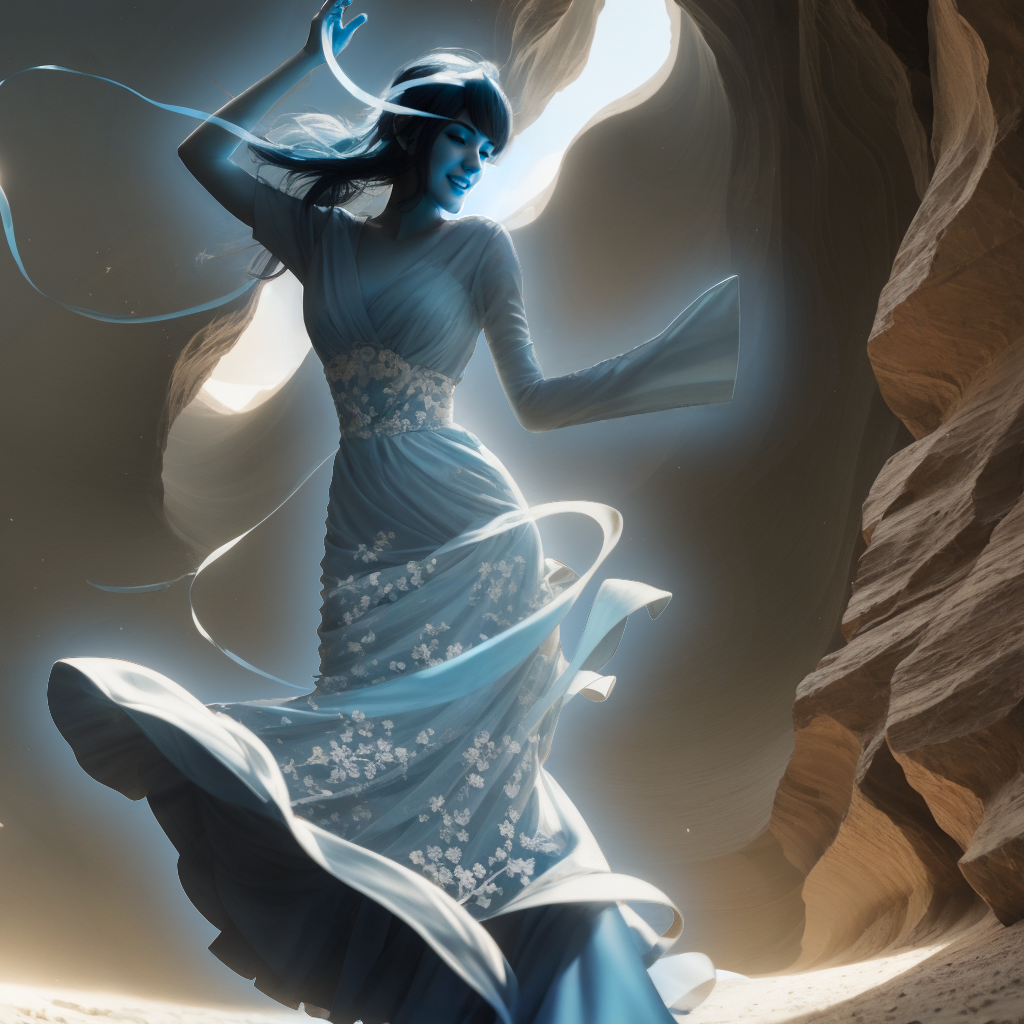
The shadows were way too strong on her for someone who is supposed to glow so I added three layers of a light blue in the soft light blending mode to lighten her up. I did not expect it to work as well as it did.
29017
Another pass in SD to clean up her hair and remove the edge from the glow layers.
GIMP
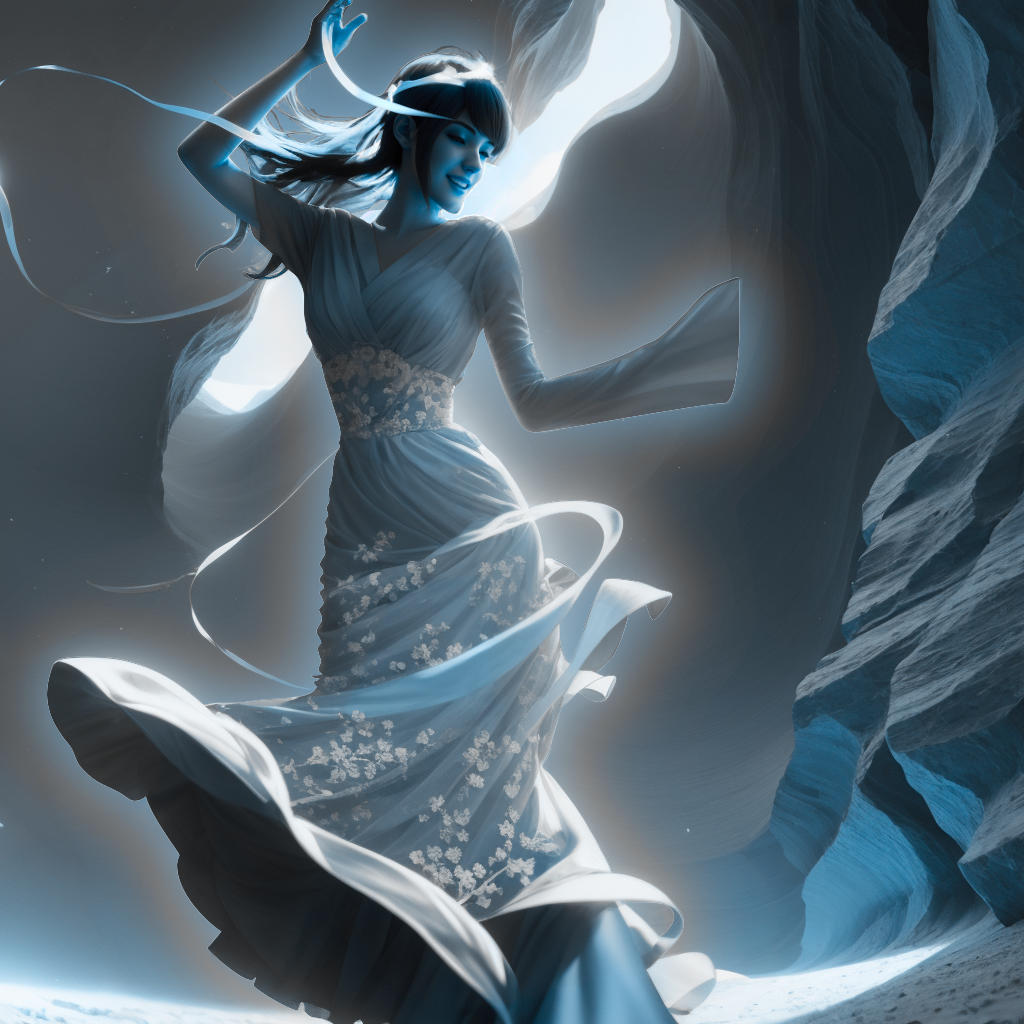
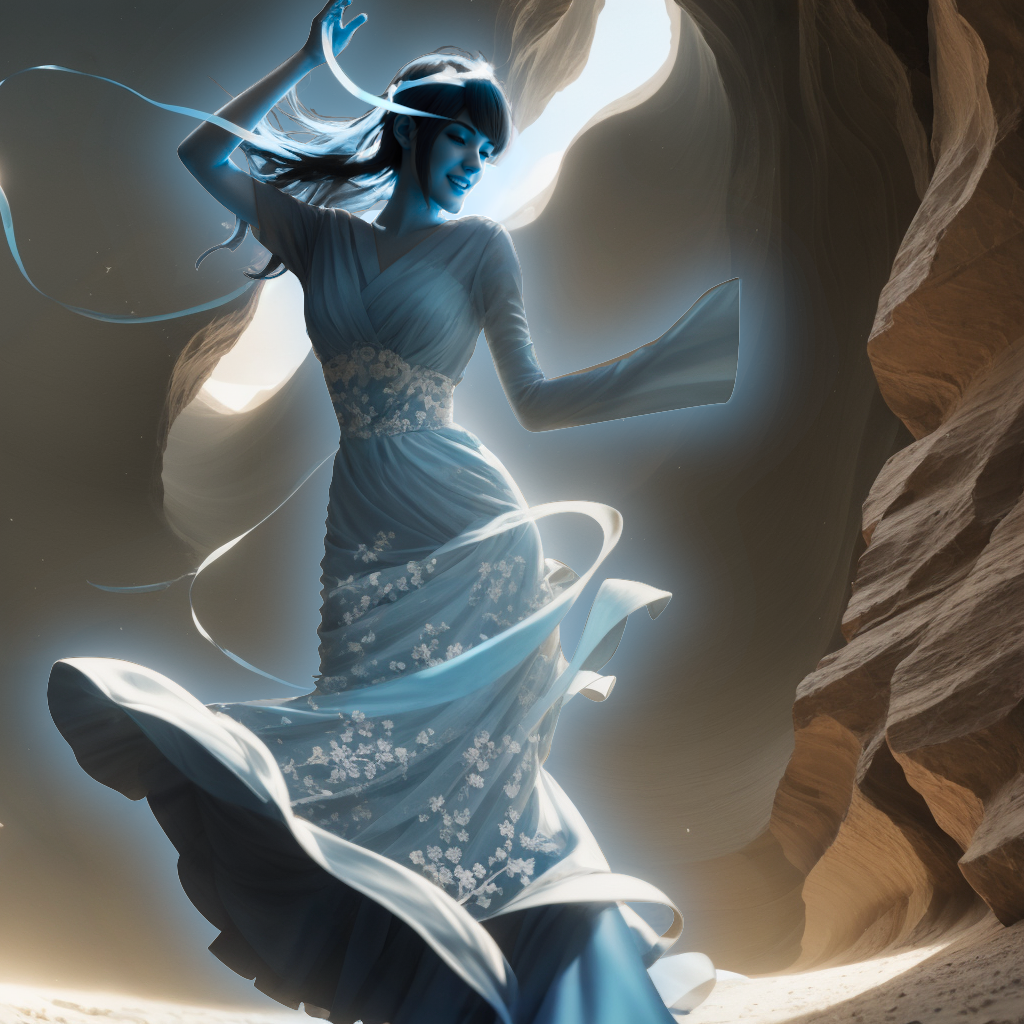
From the moment I changed her to blue I felt like the colors of the scene were off so I went back to before I added the glow, adjusted the hue and saturation of the background, brought it back to where I am now, and masked it to make a smooth transition
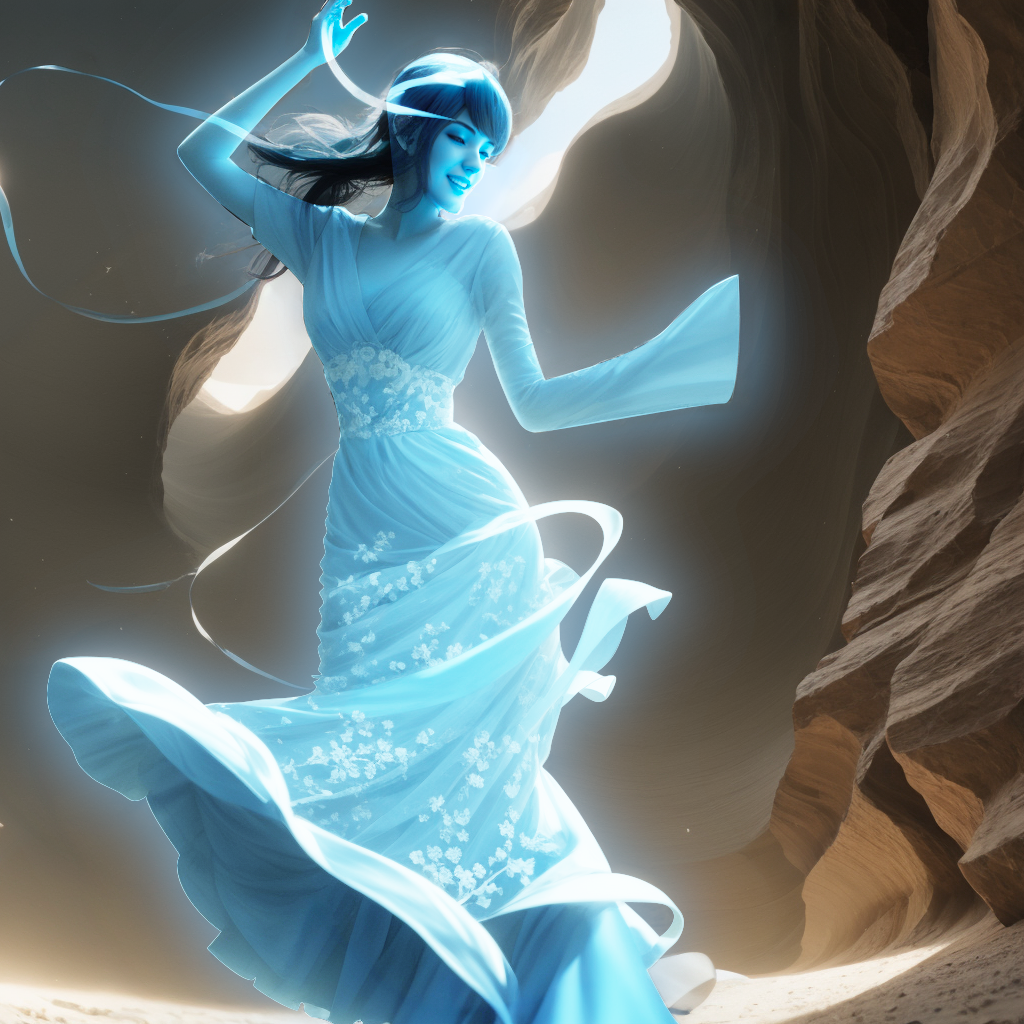
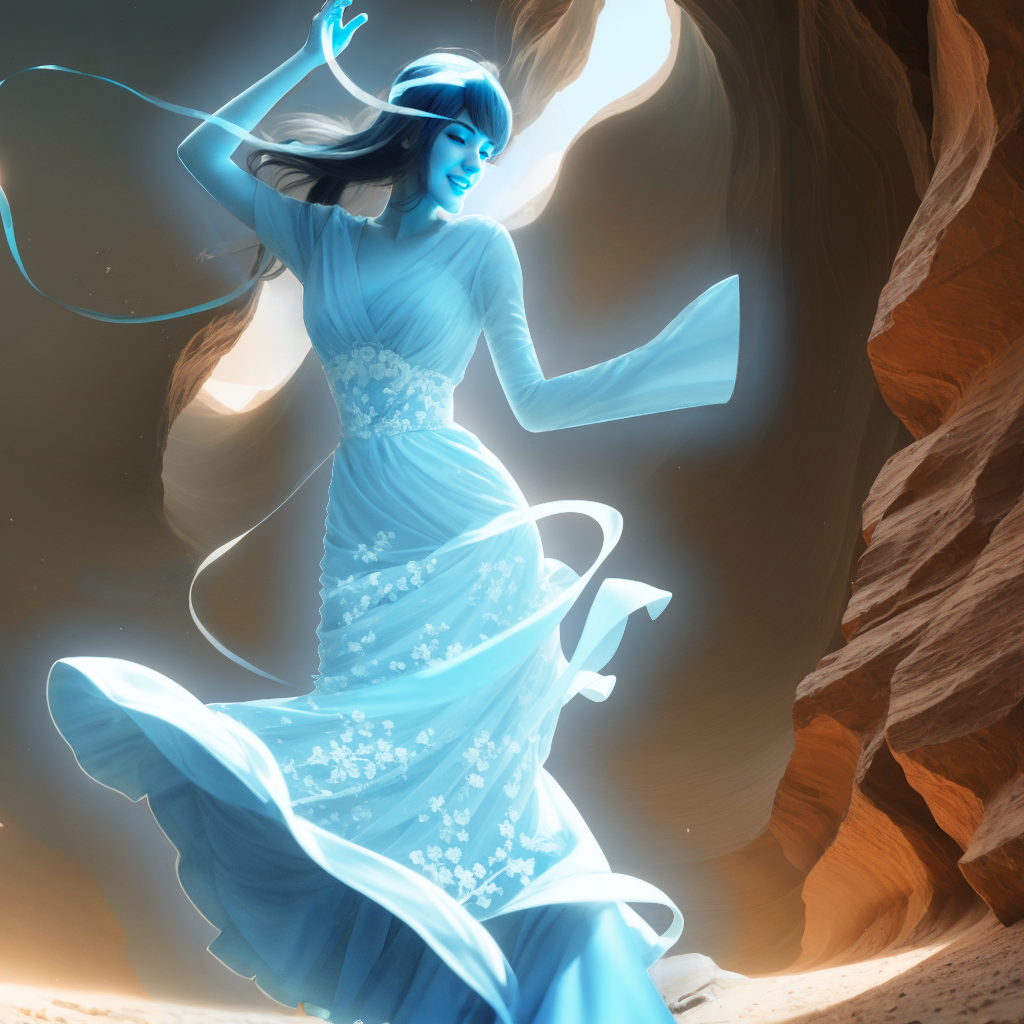
29027
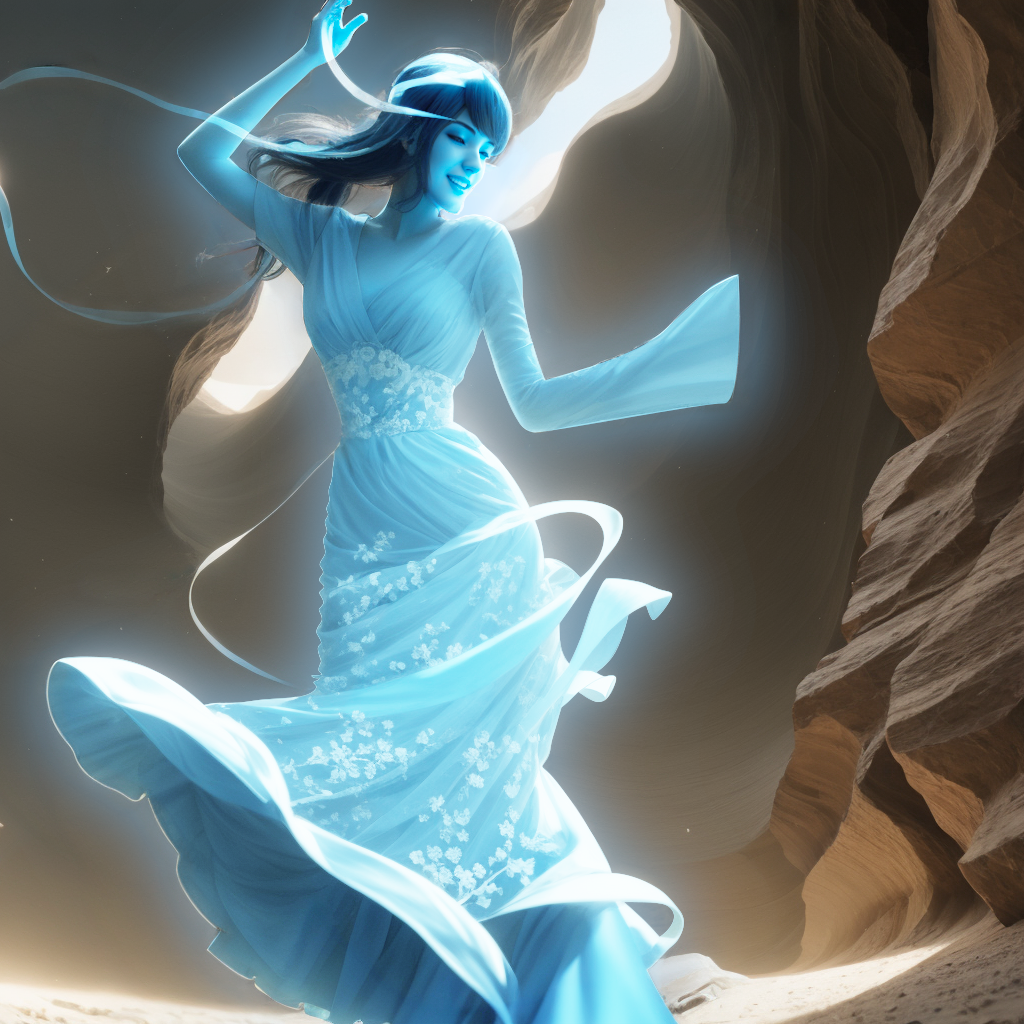
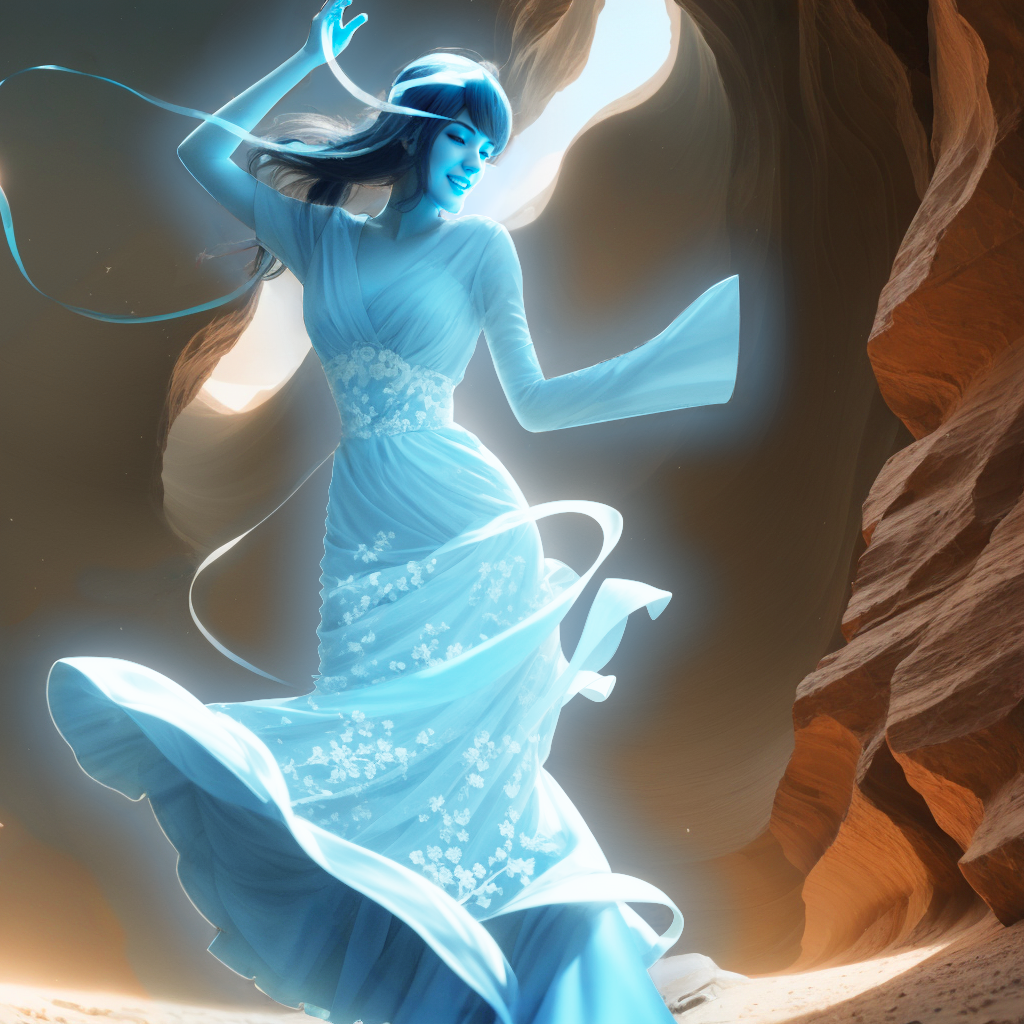
This is the final image. I ran it through SD one last time to get her hair looking really nice and to clean up the edges of her silhouette to make them really sharp.
I hope that this gives you an idea of the process of doing AI art. I put quite a few hours into the creation of this in order to get the scene that I wanted. I had a lot of fun and the end result turned out great!
